How to Edit Mac Videos Without iMovie? Making a beautiful video is a wonderful way to express your feelings and amaze your family and friends. At the start of the process, high-quality audio and video footage are recorded. You can create a fantastic video by carefully editing and putting together the raw footage. Also, it’s pretty easy to do if you have the right tools, good software, and enough skills.
IMovie is the free video editing app that comes with macOS, but there is a lot of other software that you can use to edit videos. They make editing videos easy because many of them are free. There is a software tool out there that will meet your needs, whether you’re looking for a straightforward drag-and-drop editor or a fully featured professional editing suite.
Things to Consider Before Starting
For different kinds of videos, the rules are different. Are you simply looking to enhance the footage from your family trip? You may want to create a YouTube vlog, or you may be working on a full-length documentary with computer-generated graphics and special effects. The kind of video you want to create will determine everything. Pick video editing software that is simple to use but has all the editing tools and features you may need.
Capabilities of Your Computer
You must consider if your computer can do the editing you want. The more complicated features you want to add to your videos, like sound, graphics, special effects, and color balancing, the stronger computer you will need. You need to learn the program you want to use for video editing. More time is needed to learn something with more complex features.
To use any video editing program, you need to follow these steps. Although the features and functions of each video editor may be different, these steps will help you finish your video successfully.
1. Create a Project
You will need to choose a few things before you can begin the video editing process in your editor. Create a folder to store all of the files for your project and give it a name. In addition, you’ll need to think about the project choices, like size, frame rate, and so on. Based on your video files, the app will use its basic settings. However, you may need to change these settings to fit your needs.
2. Import Raw Media
All of your video footage and other media files can now be imported into the editor. In most editors, you can either drag and drop the files straight from the source into the editor or select the Import option from the menu.
3. Organize Your Media
First, remove any bad takes, bad compositions, or mistakes that are easy to see in your raw video. You can also cut off the beginning and end of your video to make it clearer. Furthermore, get rid of any clips you don’t plan to use in the end video. Please select the desired portions of the video at your earliest convenience. Put marks on the clips that say “in” and “out.”
4. Get Some Stock Footage
To keep your viewers interested and involved after the first pass, you may want to add some background footage or stock video. You can get high-quality stock footage from websites that offer it for free and then add it to your video files.
5. Build Your Story
Build a story. As you edit, drag the clips you marked with in-and-out points onto the timeline. Your timeline is a collection of all your interconnected clips. Save your video when you’re done.
6. Smooth Up Your Timeline
You may not like your finished video when you first watch it. Please review your video closely and explore opportunities to enhance its flow. Sometimes timing can go wrong, and the changes between scenes may be too quick or too rough. You need to make these smooth.
7. Add Effects
If you need to add any extra effects to your video, now is the time. To improve the appearance of your video, these can be things like fade-in, fade-out, graphics, backgrounds, and other filters.
8. Color Grade Your Video
It’s time to color grade your video now that you’ve added effects. When color-grading, there are three main things to adjust:
- White Balance
- Brightness:
- Color Saturation
After going through this process, your video will look better and more uniform.
9. Add in Audio
You should now add sound effects and music to your video. Just find the track or music you want to use and drag it down onto the timeline. Adjust the audio so that it is in sync with the video after playing the whole thing. To fit the mood of the video, adjust the audio sound levels.
10. Add in Titles
You can add any text or names you need. Your viewers may find these useful because they provide them important information about the video. You can create titles with the help of the pre-built titles found in most editors.
Once your video is complete, you have various options for saving it, including QuickTime. Look at your video on a number of different devices, like your phone, computer, tablet, etc., to make sure that you’re happy with how it looks and sounds on all of them.
The video editing process is now over. You can share it with family and friends or post it directly on social media sites like Facebook, Instagram, YouTube, etc.
iMovie Alternatives
These well-known video editors can be used instead of iMovie:
- Movavi: Because it shares many features and layouts with iMovie, Movavi is a powerful editor. Movavi is user-friendly and intuitive. You don’t need any extra training to use Movavi if you already know how to use iMovie. This link shows you how to use Movavi to change videos on a Mac.
- Filmora: This video editor makes it easy to change things about your video and add effects. The styles and features are almost professional-level, and they will make your video stand out and be very unique. Its user design is simple and easy to understand.
- Shotcut: is a free, open-source video editor that has all the features you could want. It offers a user-friendly interface with numerous features. However, it’s not meant for professional projects and can only be used for simple editing tasks.
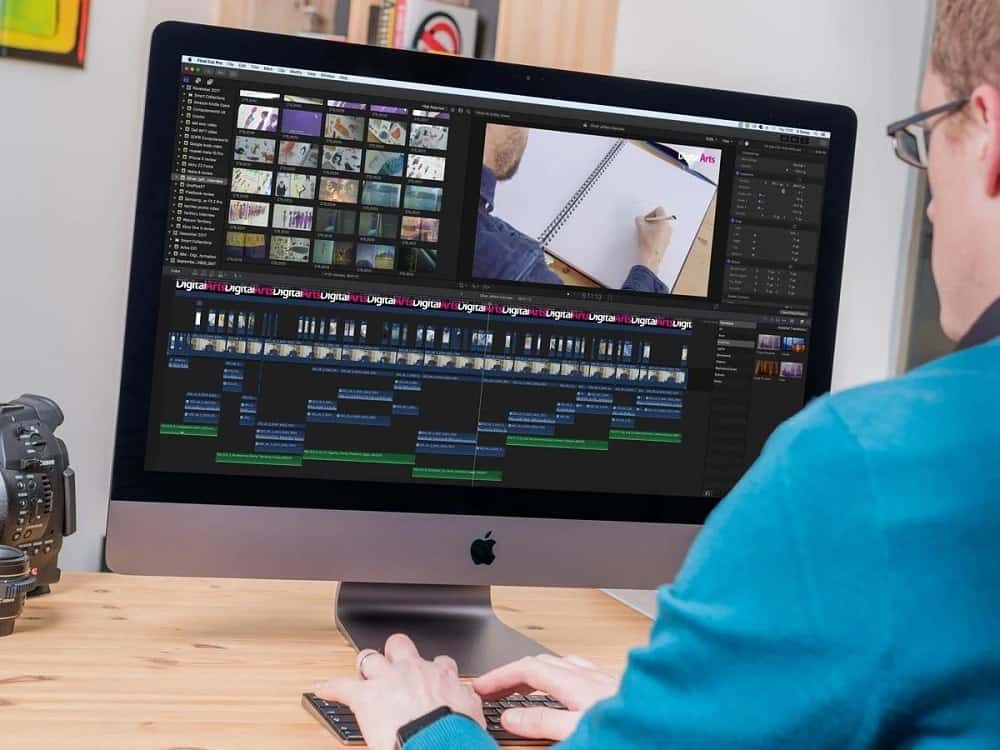
- Apple Final Cut Pro X:
This editor from Apple has a lot of features that professionals would use. Many Mac users make it their main video editor because of its powerful features, but newbies may find it hard to get used to its nontraditional timeline layout.
Conclusion
The iMovie video editor works on Macs. You You can always get a new copy from the Apple Store for free if you delete or damage the old one. But if you don’t want to use iMovie, the above list shows you many other powerful and easy-to-use options that you can choose from.